
In the fields shown below, enter your organization's name. All required fields are denoted with a red asterisk (*).

- Select the organization type, required, from the Organization Type pulldown menu.
- Enter your organization name, required, in the Organization/Company Name field.
In the fields shown below, enter your organization's mailing address. This address indicates where the organization receives mail. All required fielda are denoted with a red asterisk (*).
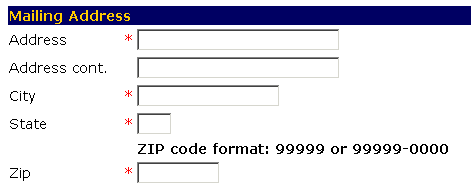
- Enter the mailing address, required, in the Address and Address cont. fields.
- Enter the city, required, for the mailing address in the City field.
- Enter the state, required, for the mailing address in the State field.
- Enter the zip code, required, for the mailing address in the Zip field using the format shown.
In the fields shown below, enter the physical address. This address at which the organization is located. If it is the same as the mailing address, check the Same as Mailing field and continue to the Billing Address section.
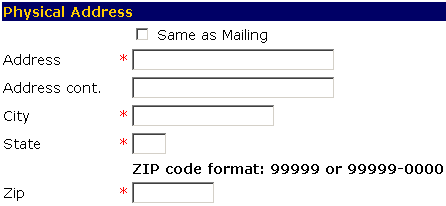
- Enter the physical address, required, in the Address and Address cont. fields.
- Enter the city, required, for the physical address in the City field.
- Enter the state, required, for the physical address in the State field.
- Enter the zip code, required, the your physical address in the Zip field using the format shown.
In the fields shown below, enter the billing address. This is the address at which the organization receives bills. If it is the same as the mailing address, check the Same as Mailing field and continue to the Step 7.
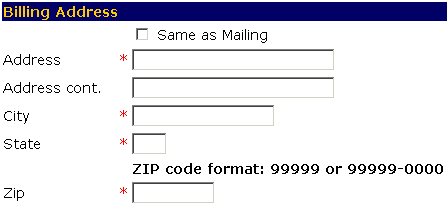
- Enter your billing address, required, in the Address and Address cont. fields.
- Enter the city, required, for the billing address in the City field.
- Enter the state, required, for the billing address in the State field.
- Enter your zip code, required, for the billing address in the Zip field using the format shown.
Primary Contact Person
In the fields shown below, enter the name of the primary contact person. All required fielda are denoted with a red asterisk (*).
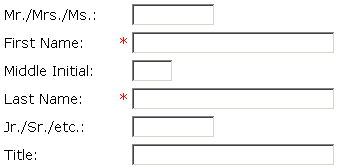
- Enter the title, optional, in the Mr./Mrs./Ms.: field.
- Enter the first name, required, in the First Name: field.
- Enter the middle initial, optional, in the Middle Initial: field.
- Enter the last name, required, in the Last Name: field.
- Enter the designation, if you have one, in the Jr./Sr./etc.: field.
- Enter the position title, optional, in the Title: field.
In the fields shown below, enter the contact information for the primary contact. All required field are denoted with a red asterisk (*).

- Enter the phone number, required, in the Phone: field using the format shown.
- Enter the fax number, optional, in the Fax: field using the format shown.
-
Enter the email address, optional, in the Email: field to be contacted by email.
If you provide an email address, notifications will be sent when the status changes on the applications. If you do not provide an email address, you will need to contact your regional DOT Permit Office for status inquiries or review the status of the application online from the Main Menu.
In the fields shown below, enter the password information. All required field are denoted with a red asterisk (*).
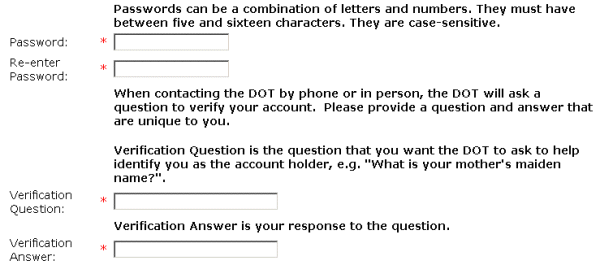
- Enter the password, required, in the Password: field using the format shown.
- Re-enter the password, required, in the Re-enter Password: field exactly as you previously entered it.
- Enter the verification question, required, in the Verification Question: field, so that the Permit Agent can verify that the person requesting information is the primary contact.
- Enter the verification answer, required, in the Verification Answer: field, so that the Permit Agent will know that that the person requesting information is the primary contact.

-OR-
Select the Cancel button to exit to the Main Menu without saving your information.
-OR-
Select the Reset button to erase your information and start again.